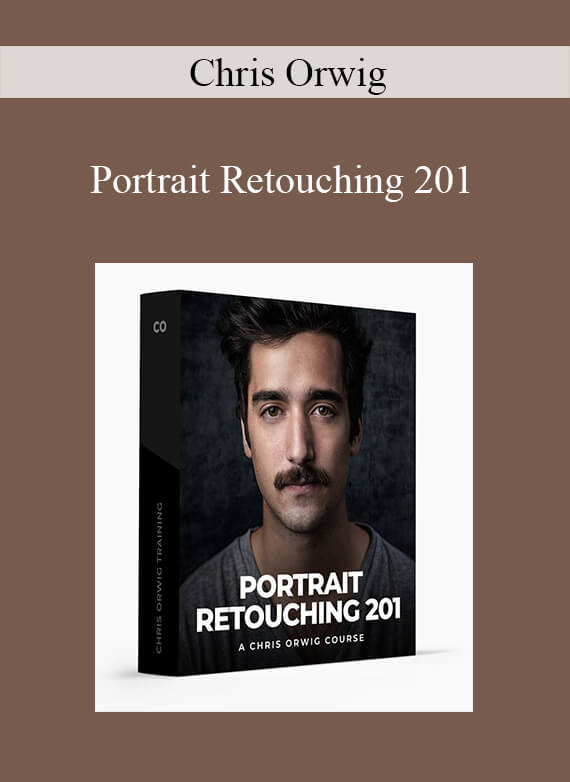
 Chris Orwig – Portrait Retouching 201
Learn how to use Photoshop to create add eye-catching style to your portrait photography.
What you’ll Learn
Learn how to use Photoshop to add, eye-catching style to portrait photography. Follow along as I take you step-by-step through a simple portrait project. Beginning with a raw image, we will retouche and clean up the image. Next we will look at how to improve color and tone and create a textured background from scratch. Finally, learn how to improve edge detail and focus, change colors, and create a portrait you love.
Lessons
9
Length
51 Minutes
Level
Beginner
Software
Photoshop
Curriculum
Welcome and Overview
Listen along as Chris provides the vision and overview of the project ahead. Get the Source Files for this project using the download link above.
Getting Started
Getting started by importing the portrait and textures into Photoshop.
Retouching Details
Learn how to professionally retouching away distracting details.
Improving the Neck
Discover how to improve the light and the wrinkles on the neck.
Fixing Shadows
Learn an advanced Curves and Masking techniques for fixing unwanted shadows
AddingTexture to the Background
Make the studio background come to life by adding a texture.
Improving Edge Details and Focus
Discover how to improve edge details and the overall sharpness of the frame.
Changing Color
Learn how to customize and fine-tune the color in order to craft the look.
Finals Steps with a Plugin
Sometimes using Photoshop isn’t enough. With this image, let’s look at how to use a 3rd party plugin to take the look even further.
Sneak Peak
Portrait Retouching 201
$47
Learn how to use Photoshop to create add eye-catching style to your portrait photography.
Proof Content
Sale Page: https://www.chrisorwigtraining.com/portrait-retouching-201
Archive: https://archive.is/fPndv


